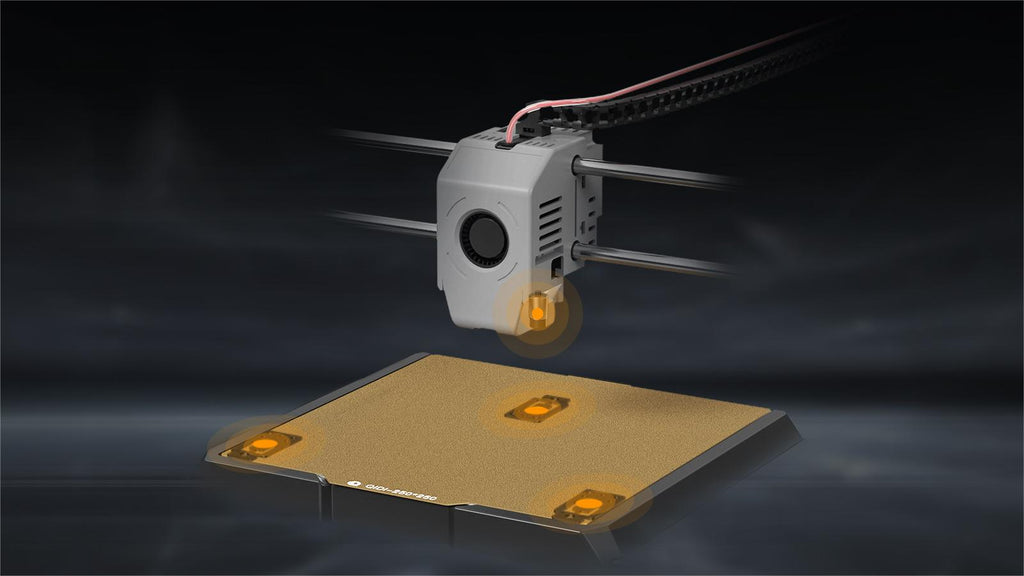
Achieving precision in 3D printing is a meticulous process that begins with a level print bed. Without a properly leveled bed, even the most advanced 3D printers can produce subpar results. In this guide, we will walk you through the 7 Steps to Leveling Your 3D Printer Bed for Precision Printing, ensuring your prints are accurate and of high quality.

Step 1: Gather Your Tools
Before you start, make sure you have the necessary tools. Typically, you will need a piece of paper, a set of hex keys, and a spirit level. These tools will help you make precise adjustments to your printer bed.
Step 2: Preheat the Bed
Preheating the bed to the temperature you will use for printing is crucial. Materials expand when heated, and this can affect the leveling process. By preheating, you ensure that the bed is in the same state it will be during printing, leading to more accurate adjustments.
Step 3: Home the Printer
Next, home your printer. This means moving the print head to its default starting position. Homing the printer ensures that the bed leveling process starts from a consistent reference point, which is essential for precision.
Step 4: Adjust the Corners
Using your piece of paper, slide it between the print head and the bed at each corner. Adjust the bed height until you feel a slight resistance when moving the paper. This step is crucial for ensuring that the bed is level across its entire surface.
Step 5: Check the Center
After adjusting the corners, move the print head to the center of the bed and repeat the paper test. If the center is not level, it indicates that the bed is warped or the adjustments at the corners need fine-tuning. Make small adjustments and recheck the corners if necessary.
Step 6: Fine-Tune the Leveling
Once the bed is roughly level, it's time for fine-tuning. Use the spirit level to check the bed's alignment. Make minor adjustments to the leveling screws until the bed is perfectly level. This step ensures that the bed is not only level but also aligned with the printer's axes.
Step 7: Test Print
Finally, perform a test print. A simple calibration print, such as a single-layer square, can help you identify any remaining issues. Observe the first layer closely; it should be uniform and well-adhered to the bed. If there are any inconsistencies, make further adjustments as needed.
By following these 7 Steps to Leveling Your 3D Printer Bed for Precision Printing, you can achieve a perfectly level bed, which is the foundation of high-quality 3D prints. Remember, patience and precision are key. Take your time with each step, and your efforts will be rewarded with flawless prints.
Conclusion
Leveling your 3D printer bed is a fundamental skill that every 3D printing enthusiast should master. These 7 Steps to Leveling Your 3D Printer Bed for Precision Printing provide a comprehensive approach to achieving a level bed, ensuring that your prints are accurate and of the highest quality. By incorporating these steps into your routine, you can elevate your 3D printing experience and produce exceptional results every time.


