As gaming technology continues to evolve, many players are exploring new ways to enhance their gaming experience. One such method is the guide for connecting keyboard and mouse to Xbox Cloud Gaming. This setup not only provides greater precision but also allows for a more comfortable gaming experience. In this article, we will delve into the steps required to connect your keyboard and mouse to Xbox Cloud Gaming effectively.
Understanding Xbox Cloud Gaming Compatibility
Before diving into the guide for connecting keyboard and mouse to Xbox Cloud Gaming, it is essential to understand the compatibility of your devices. Not all games support keyboard and mouse input, so it is crucial to check the game specifications. Generally, first-person shooters and strategy games are more likely to support this setup. If you are unsure, consult the game’s official website or community forums for detailed information.
Required Equipment for Setup
To successfully connect your keyboard and mouse to Xbox Cloud Gaming, you will need the following:
- An Xbox console or a compatible device that supports Xbox Cloud Gaming.
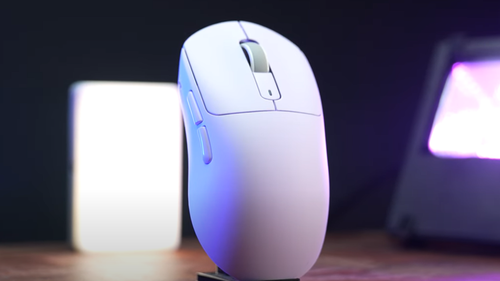
- A USB keyboard and mouse or a wireless set with a USB receiver.
- A stable internet connection to access Xbox Cloud Gaming services.
Step-by-Step Connection Process
Now that you have the necessary equipment, let’s explore the guide for connecting keyboard and mouse to Xbox Cloud Gaming in detail:
- Connect your USB keyboard and mouse to the Xbox console. If you are using a wireless set, plug the USB receiver into the console.
- Ensure that your Xbox is powered on and connected to the internet.
- Navigate to the Xbox settings menu and select “Devices & connections.”
- Choose “Accessories” to confirm that your keyboard and mouse are recognized by the system.
- Launch the Xbox Cloud Gaming app and select your desired game.
- Once in-game, test the keyboard and mouse functionality to ensure everything is working correctly.
Troubleshooting Common Issues
While the setup process is generally straightforward, you may encounter some issues. Here are a few common problems and their solutions:
- If your keyboard or mouse is not recognized, try unplugging and re-plugging the USB connection.
- Ensure that your devices are compatible with Xbox Cloud Gaming.
- Check for any software updates for your Xbox console that may enhance compatibility.
For more detailed information and troubleshooting tips, you can visit this link.
Conclusion
In conclusion, the guide for connecting keyboard and mouse to Xbox Cloud Gaming provides gamers with an opportunity to elevate their gaming experience. By following the steps outlined above, you can enjoy a more precise and comfortable gaming setup. Remember to check game compatibility and troubleshoot any issues that may arise. Happy gaming!