
Installing an undersink water filter can significantly improve the quality of your drinking water. This guide provides detailed instructions to help you through the undersink water filter installation process, ensuring you have clean and safe water at your fingertips.
Understanding the Importance of Undersink Water Filters
Why should you consider an undersink water filter installation? These systems effectively remove contaminants such as chlorine, lead, and sediment from your water supply. By investing in an undersink filter, you not only enhance the taste of your water but also protect your health and that of your family.
Tools and Materials Needed for Installation
Before you begin the undersink water filter installation, gather the following tools and materials:
- Adjustable wrench
- Drill with a 1/2-inch drill bit
- Phillips screwdriver
- Bucket or towel (to catch any spills)
- Undersink water filter system
Step-by-Step Instructions for Undersink Water Filter Installation
Follow these steps to successfully install your undersink water filter:
- Turn Off the Water Supply: Locate the shut-off valve under your sink and turn it off to prevent any leaks during installation.
- Prepare the Area: Clear out the space under your sink to make room for the filter system.
- Install the Filter Bracket: Use the drill to attach the filter bracket to the wall or the side of the cabinet.
- Connect the Water Supply Line: Use the adjustable wrench to connect the water supply line to the filter inlet. Ensure a tight fit to avoid leaks.
- Attach the Filter: Secure the filter onto the bracket according to the manufacturer’s instructions.
- Connect the Faucet: If your system includes a separate faucet, drill a hole in your sink or countertop and install the faucet as directed.
- Turn On the Water Supply: Once everything is connected, turn the water supply back on and check for leaks.
- Flush the System: Run water through the filter for a few minutes to remove any carbon dust and ensure proper functioning.
Maintenance Tips for Your Undersink Water Filter
To keep your undersink water filter functioning optimally, regular maintenance is essential. Here are some tips:
- Replace filters as recommended by the manufacturer.
- Check for leaks periodically.
- Clean the faucet and surrounding area to prevent buildup.
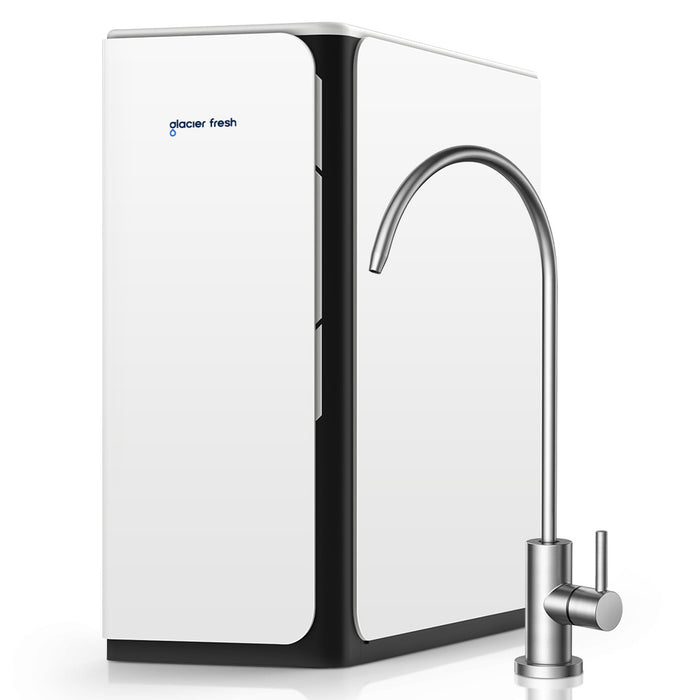
For high-quality  , consider exploring options that suit your needs. The right system can enhance your undersink water filter installation experience.
Conclusion
In conclusion, the undersink water filter installation process can be straightforward with the right tools and guidance. By following these steps, you can enjoy cleaner, safer drinking water in your home. Remember, regular maintenance is key to ensuring your system operates effectively for years to come.