Creating stunning nail art at home can be both a fun and rewarding experience. With the right tools, techniques, and a bit of creativity, you can achieve salon-quality results without stepping out of your house. This guide will walk you through the essentials of crafting professional-looking nail art at home, ensuring your nails look fabulous and flawless.
Gathering Your Tools and Materials
Before diving into the world of DIY nail art, it's crucial to have the right tools and materials. Here's a list of essentials:
- Nail polish: A variety of colors for base coats, designs, and top coats.
- Nail brushes: Fine-tipped brushes for detailed work.
- Dotting tools: For creating dots and intricate patterns.
- Nail tape: To achieve clean lines and geometric designs.
- Stickers and decals: For adding extra flair to your designs.
- Top coat: To seal and protect your artwork.
Having these tools at your disposal will make the process of creating professional-looking nail art at home much smoother and more enjoyable.
Preparing Your Nails
Preparation is key to achieving a flawless finish. Follow these steps to get your nails ready:
- Clean your nails: Remove any old polish and wash your hands thoroughly.
- Shape your nails: Use a nail file to shape your nails to your desired length and style.
- Buff your nails: Gently buff the surface of your nails to create a smooth canvas.
- Apply a base coat: This will protect your nails and help the polish adhere better.
Properly prepared nails are essential for achieving a professional finish and ensuring your nail art lasts longer.
Mastering Basic Techniques
To create professional-looking nail art at home, it's important to master some basic techniques. Here are a few to get you started:
French Manicure
A classic French manicure is timeless and elegant. To achieve this look:
- Apply a sheer pink or nude base coat.
- Use nail tape to create a clean line at the tip of your nails.
- Paint the tips white and remove the tape carefully.
- Finish with a top coat for a glossy finish.
Polka Dots
Polka dots are fun and easy to create. Here's how:
- Apply a base color of your choice.
- Dip a dotting tool into a contrasting polish color.
- Gently press the tool onto your nails to create dots.
- Seal with a top coat.
Geometric Designs
Geometric designs can add a modern touch to your nails. To achieve this look:
- Apply a base color and let it dry completely.
- Use nail tape to create geometric shapes on your nails.
- Paint over the tape with a contrasting color.
- Carefully remove the tape and finish with a top coat.
Adding Finishing Touches
Once you've mastered the basics, you can experiment with more advanced techniques and add finishing touches to elevate your nail art:
- Stickers and decals: Apply these to add intricate designs without the hassle.
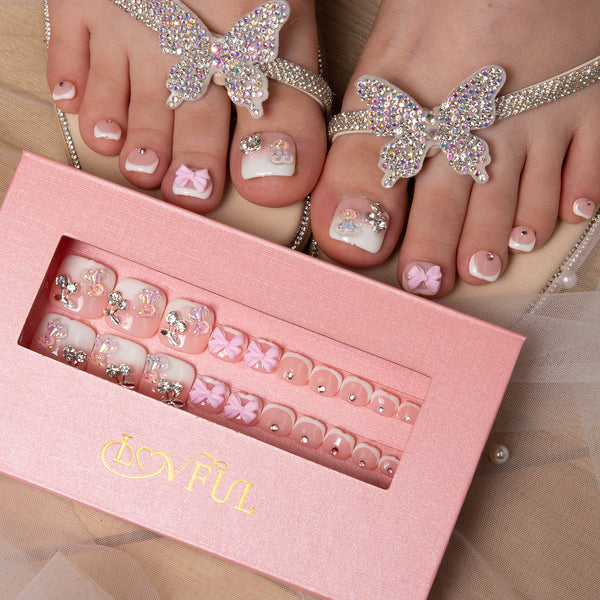
- Glitter and rhinestones: Add some sparkle to your nails for a glamorous look.
- Matte top coat: For a chic, modern finish, use a matte top coat instead of a glossy one.
These finishing touches can transform your nail art from simple to stunning, giving you that professional look.
Practice Makes Perfect
Creating professional-looking nail art at home takes practice and patience. Don't be discouraged if your first few attempts aren't perfect. Keep experimenting with different techniques, colors, and designs. Over time, you'll develop your skills and create beautiful nail art that looks like it was done by a professional.
By following these tips and techniques, you'll be well on your way to mastering the art of DIY nail art. So gather your tools, unleash your creativity, and enjoy the process of creating stunning nail designs at home.