
Are you considering enhancing your outdoor space with a 10x12 gazebo with easy assembly instructions? This versatile structure not only provides shade but also adds aesthetic appeal to your garden or patio. In this guide, we will walk you through the assembly process, ensuring that you can set up your gazebo with confidence.
Understanding Your 10x12 Gazebo
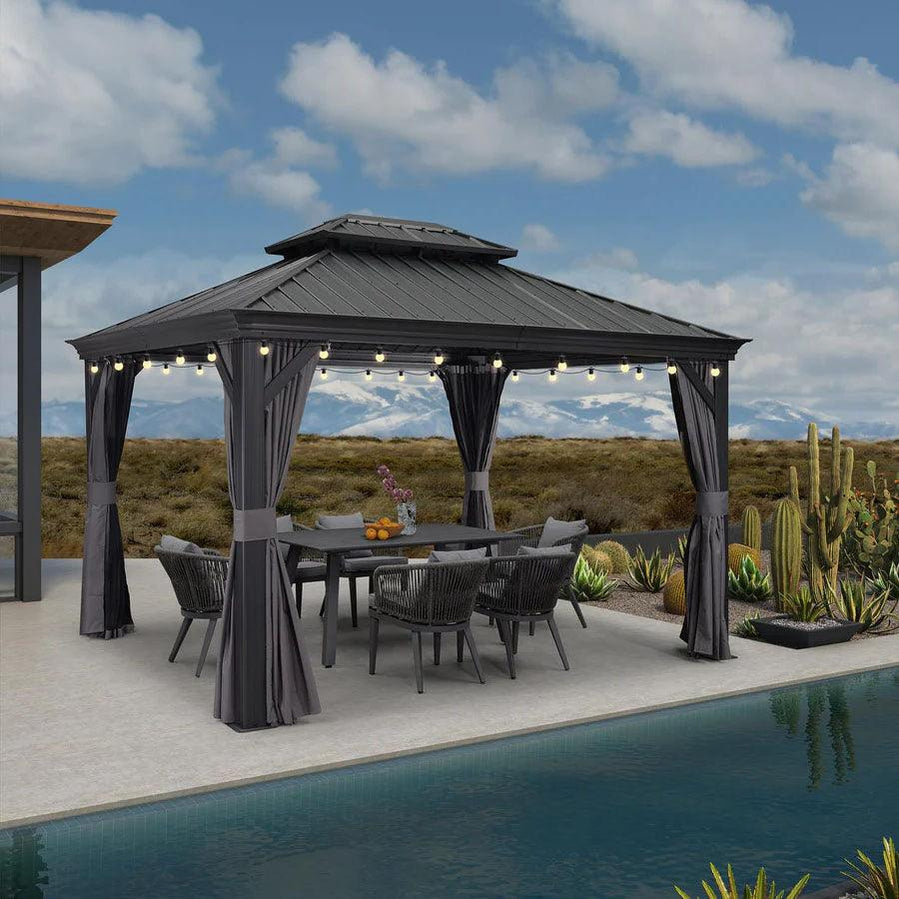
A 10x12 gazebo is an ideal size for various outdoor settings, whether you want to host gatherings or simply enjoy a quiet afternoon. Before diving into assembly, familiarize yourself with the components included in your gazebo kit. Typically, you will find:
- Roof panels
- Support beams
- Side panels
- Hardware (screws, bolts, etc.)
- Assembly instructions
Preparation for Assembly
Before you begin assembling your 10x12 gazebo with easy assembly instructions, ensure you have the following tools on hand:
- Power drill
- Screwdriver
- Level
- Tape measure
- Safety goggles
Choosing a suitable location is also crucial. The ground should be level and free of debris to facilitate a smooth assembly process. If you have any questions about the location, consider how the gazebo will fit into your overall outdoor design.
Step-by-Step Assembly Instructions
Now that you are prepared, let’s delve into the assembly process for your 10x12 gazebo with easy assembly instructions. Follow these steps for a successful setup:
- Lay Out the Base: Start by assembling the base frame according to the instructions. Ensure all corners are square.
- Attach the Support Beams: Secure the support beams to the base. This step is crucial for stability.
- Install Side Panels: Attach the side panels to the support beams. Make sure they are level and properly aligned.
- Position the Roof Panels: Carefully place the roof panels on top of the structure. Ensure they fit snugly.
- Final Checks: Go through all connections and tighten any loose screws or bolts. A level check is also recommended.
Enjoying Your Gazebo
Once your 10x12 gazebo is assembled, it’s time to enjoy your new outdoor space. Consider adding furniture, lighting, or decorative elements to enhance the ambiance. If you are looking for stylish options, visit  for inspiration.
In conclusion, assembling a 10x12 gazebo with easy assembly instructions can be a rewarding project that elevates your outdoor experience. By following these detailed steps, you can create a beautiful and functional space for relaxation and entertainment.