Recessed lighting has become a popular choice for homeowners and designers alike due to its sleek appearance and ability to provide ample illumination. If you are considering upgrading your space, easy install recessed lighting can be a game-changer. This guide will walk you through the process, ensuring you achieve a professional finish with minimal hassle.
Understanding Easy Install Recessed Lighting
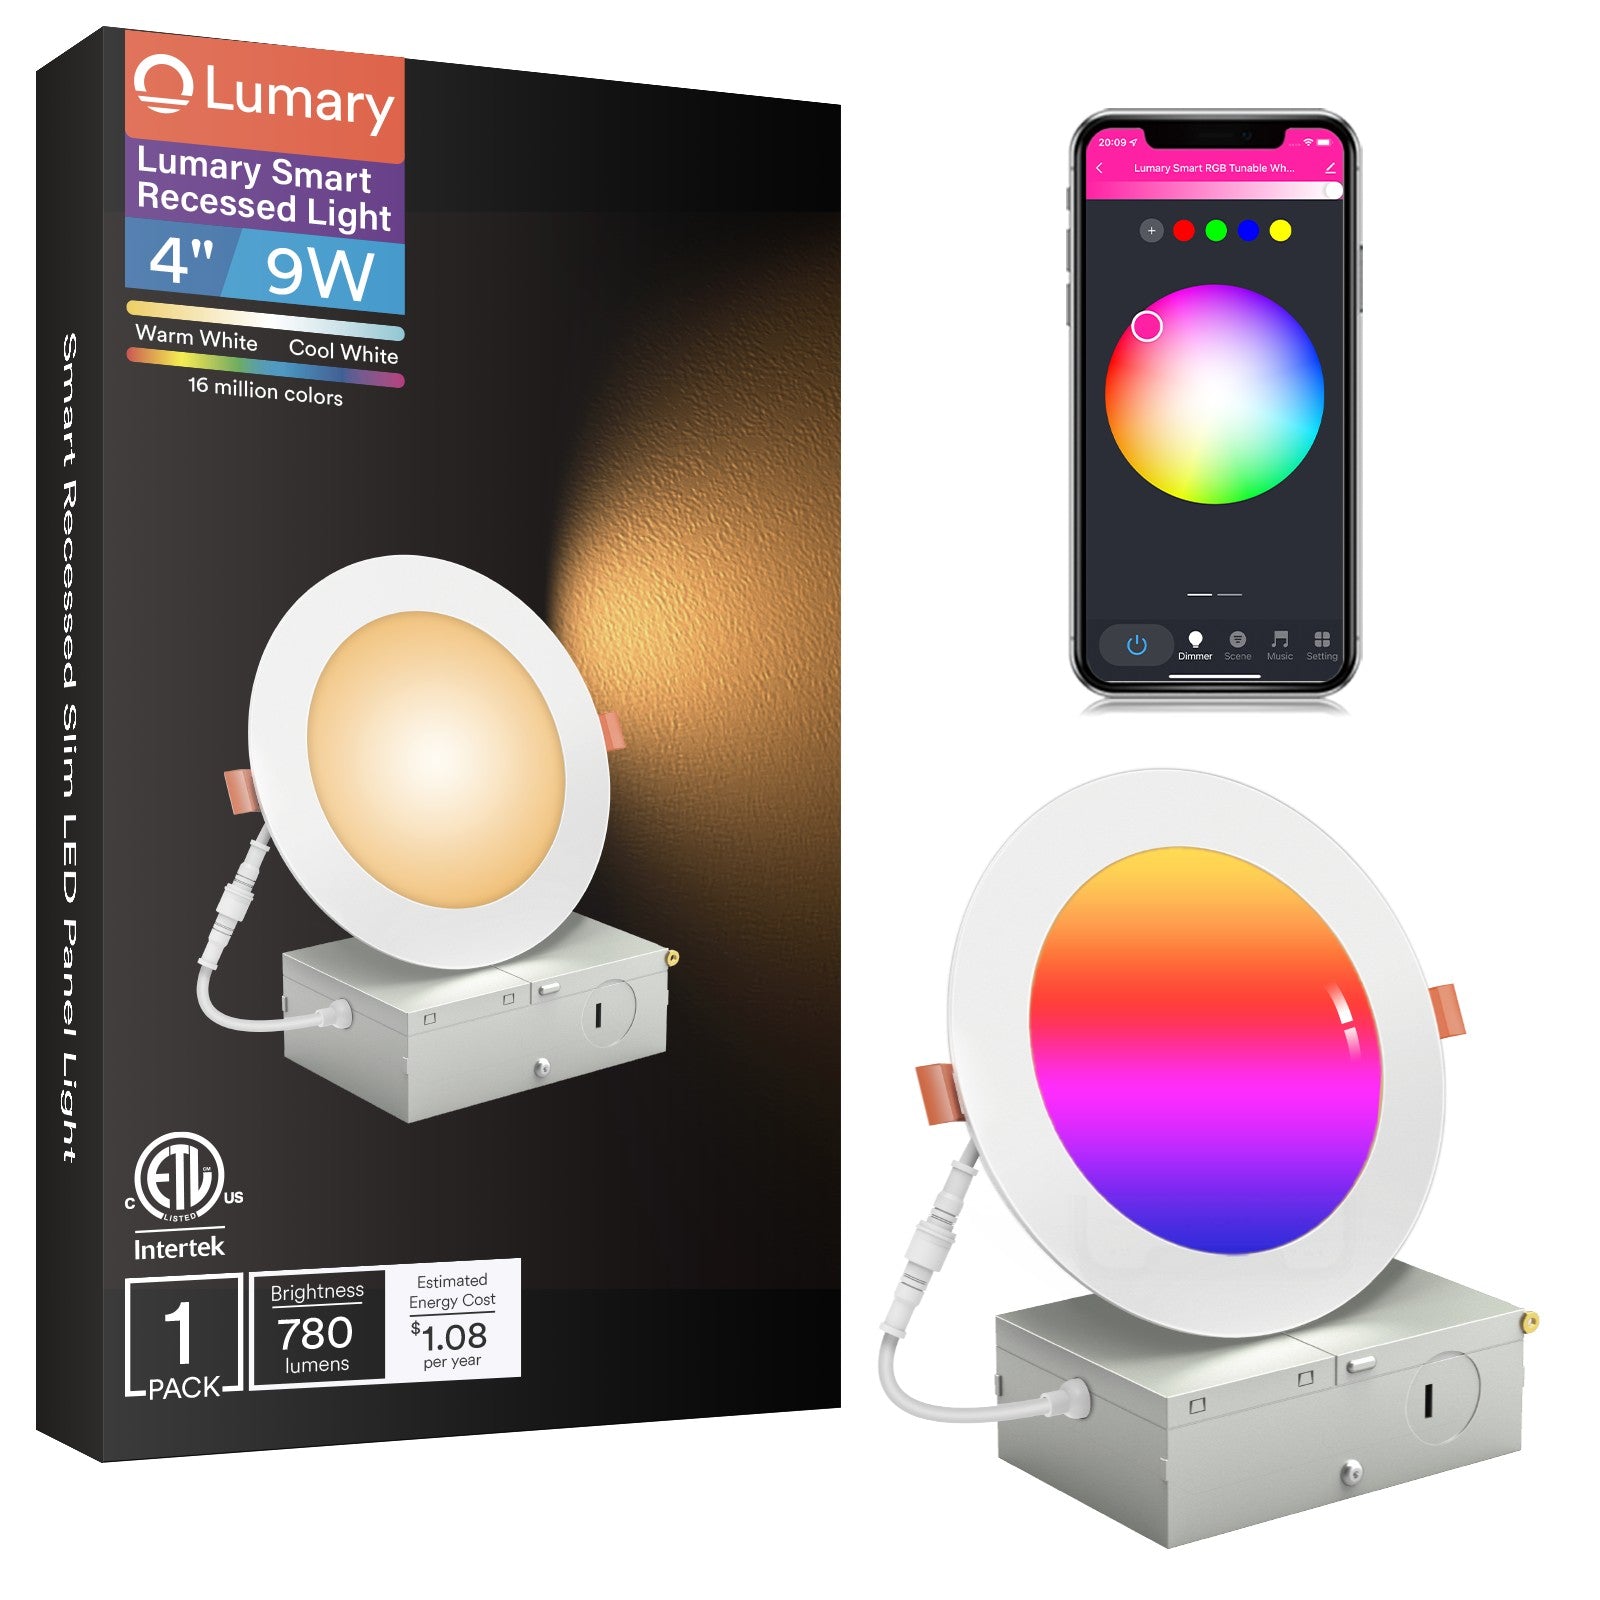
What exactly is easy install recessed lighting? This type of lighting fixture is designed for straightforward installation, often requiring no additional housing or extensive electrical work. Many models, such as the , come with built-in LED technology, making them energy-efficient and long-lasting.
Benefits of Easy Install Recessed Lighting
- Minimal Installation Effort: These fixtures often come with simple mounting options that do not require professional help.
- Versatile Design: They can fit into various ceiling types and styles, enhancing the aesthetic appeal of your space.
- Energy Efficiency: Many easy install recessed lights use LED technology, reducing energy consumption and costs.
- Adjustable Brightness: Some models offer dimming features, allowing you to customize the ambiance of your room.
Step-by-Step Installation Instructions
Installing easy install recessed lighting can be a rewarding DIY project. Follow these steps to ensure a smooth installation:
- Gather Your Tools: You will need a drill, wire stripper, screwdriver, and a voltage tester.
- Turn Off Power: Safety first! Ensure the power is off at the circuit breaker before starting.
- Choose Your Location: Decide where you want to install the lights. Consider spacing and alignment for optimal lighting.
- Cut the Ceiling Hole: Use the template provided with your recessed lights to mark and cut the hole in the ceiling.
- Connect the Wiring: Follow the manufacturer's instructions to connect the wiring securely.
- Install the Fixture: Push the fixture into the hole and ensure it is flush with the ceiling.
- Restore Power: Once everything is in place, turn the power back on and test your new lights.
Conclusion
In conclusion, easy install recessed lighting offers a fantastic way to enhance your home’s lighting without the need for extensive renovations. By following the steps outlined in this guide, you can achieve a professional look while enjoying the benefits of modern lighting technology. Whether you are updating a single room or your entire home, these fixtures can provide the perfect solution for your lighting needs.