
Press-on acrylic nails have gained immense popularity in recent years, offering a convenient and stylish alternative to traditional nail enhancements. Whether you are preparing for a special occasion or simply want to elevate your everyday look, understanding how to apply these nails correctly is essential for achieving a flawless finish.
Understanding Press-On Acrylic Nails
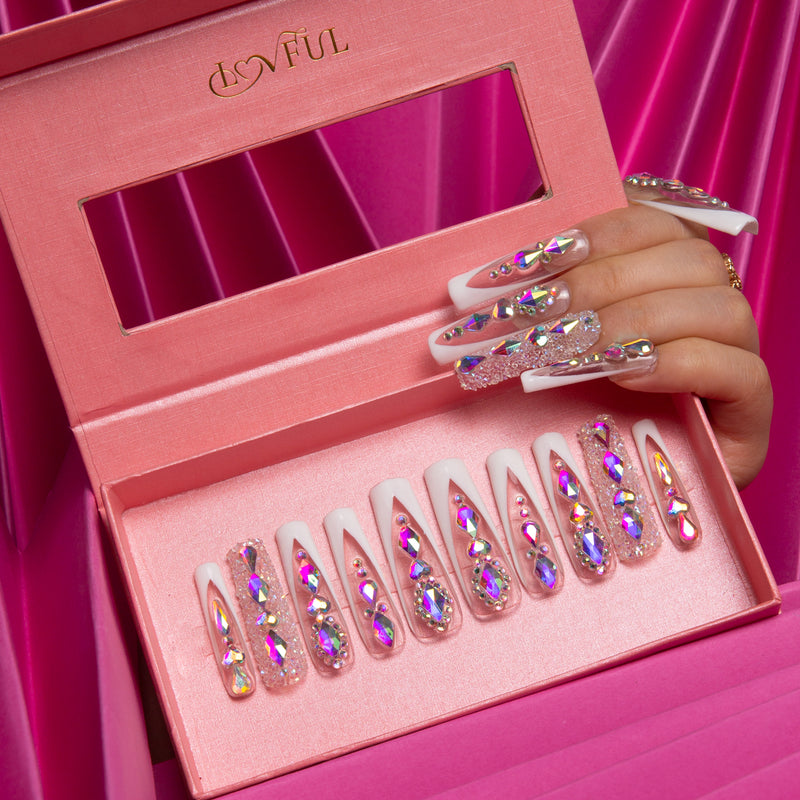
Press-on acrylic nails are pre-designed nail extensions that can be easily applied at home. They come in various shapes, sizes, and designs, allowing for personalization to suit individual preferences. Unlike salon treatments, these nails can be applied without the need for professional assistance, making them an accessible option for everyone.
Benefits of Using Press-On Acrylic Nails
- Convenience: Applying press-on acrylic nails can be done in the comfort of your home, saving time and money.
- Variety: With countless designs available, you can easily switch up your look to match any outfit or occasion.
- Damage-Free: Unlike traditional acrylics, press-ons do not require harsh chemicals or lengthy application processes, minimizing damage to your natural nails.
Preparing for Application
Before applying your press-on acrylic nails, proper preparation is key. Start by gathering the necessary tools, which typically include:
- Press-on acrylic nails
- Nail file
- Nail buffer
- Cuticle pusher
- Nail glue or adhesive tabs
- Alcohol wipes
Once you have your tools ready, follow these steps:
- Clean Your Nails: Use alcohol wipes to remove any oils or residues from your natural nails.
- Shape and Buff: Gently file and buff your nails to create a smooth surface for better adhesion.
- Push Back Cuticles: Use a cuticle pusher to ensure that your cuticles are neatly pushed back, allowing for a clean application.
Applying Press-On Acrylic Nails
Now that your nails are prepped, it’s time to apply the press-on acrylic nails. Here’s how:
- Select the Right Size: Choose press-on nails that fit your natural nail shape and size. This ensures a seamless look.
- Apply Adhesive: If using nail glue, apply a small amount to the back of the press-on nail and your natural nail. For adhesive tabs, simply peel and stick.
- Press and Hold: Firmly press the nail onto your natural nail for about 10-15 seconds to ensure a strong bond.
For a stunning collection of press-on acrylic nails, explore .
Maintaining Your Press-On Acrylic Nails
To extend the life of your press-on acrylic nails, consider the following maintenance tips:
- Avoid excessive water exposure, as it can weaken the adhesive.
- Use gloves when doing household chores to protect your nails.
- Gently file the edges if they start to lift or chip.
In conclusion, mastering the art of applying press-on acrylic nails can transform your nail game. With the right preparation and techniques, you can achieve a salon-quality look at home. Embrace the versatility and convenience of press-on acrylic nails, and enjoy expressing your unique style!